

Photo by Shahadat Rahman on Unsplash
A Beginner guide to global state management in React using context API.


Introduction
I bet you are reading this article because you want to understand how React context API works but also you finally realize that it is really hard to manage states between two or more React components because sometimes we often pass states through components that will never use that state.
Props Drilling
So initially this is called props drilling, Props drilling is a process whereby a nested component needs a state variable that can not be directly passed to it because it exists several levels down, so to pass a state variable to that nested component, we have to pass that variable through other components to get to that specific nested component.
Let’s use a real-life scenario as an example to fully understand props drilling, so let's say you are in a classroom, sitting at the end of the class, and you need to pass a book to your friend who is sitting at the other end, you can do that by passing the book from one student to another until it gets to your friend, even though these students don’t need the book, it still passes through them because they are the only direct means of transporting the book to your friend. In React we call this props drilling.
And it has its disadvantages, one of which is if the book you are trying to pass to your friend contains vital information that only you and your friends should know, other students might be able to have this information.
And sometimes it is slow to send the book over to your friend through that process.
Raising state variables to the parent component
There is another method of passing a state variable between children components, and it is referred to as Raising a state to the parent component, so supposing two components share the same parent, and these components need to share state variables as well, the simple logical thing to do is to bring the state variables to the parent component that they both share so that they can easily have access to it.
But what if these two components do not share the same parent component? That is where the context API comes in.
The Context API
Think of it as a universal parent to all of the children components, and it allows its children to have access to its state variables without any form of props drilling. Even raising a state to a parent component will include some aspects of props drilling to pass states to the children components, but the context API does not work that way.
The context API is a way of managing state variables globally and it allows its children components to have access to these state variables no matter how deeply nested they are, using the useContext hook.
So instead of passing the book from one student to another in the class, you can magically create a portal between you and your friend. But of course, we don’t do magic in programming.
Why you should use the Context API.
First, it is easier to manage the state variables if they are all in one place, and with context API all the shared state variables are stored in the context provider. And secondly, no more props drilling, by now you must have understood how unprofessional props drilling is and why you should avoid it, one of the easiest ways to avoid props drilling is through the context API.
How to use the Context API.
I will provide a tutorial example on how to use the context API, here is a link for the completed version of what we are building.
But to follow along, you need to understand React functional components and how React hooks work.
It is okay if you don’t have a lot of experience with the above prerequisites, you can also follow along, I will be explaining any concept that might sound new to you.
I will just assume you have a react app ready. If you don’t, open your terminal and then type npx create-react-app appname. And once that is done, open the application in your favorite code editor and get ready to code.
Or you can use codesandbox to quickly start a react project right in the browser.
Once everything is ready, replace the App.css file contents with this;
* {
  padding: 0px;
  margin: 0px;
  box-sizing: border-box;
}
.navbar ul {
  padding: 10px;
  list-style-type: none;
  display: flex;
  justify-content: space-around;
  align-items: center;
  background-color: greenyellow;
  font-family: "Segoe UI", Tahoma, Geneva, Verdana, sans-serif;
}

.numbs {
  font-weight: 800;
}

.products li {
  display: flex;
  align-items: center;
  justify-content: space-around;
  border: 1px solid gray;
  padding: 10px;
}

.products li div {
  width: 20%;
  display: flex;
}
.products li div button {
  width: 50%;
  padding: 10px 20px;
  margin: 2px
}
Create a new directory in the src folder and name it components. Inside the new directory, you created, create 3 JS or JSX files, with the following names navbar.jsx, products.jsx and product.jsx.
In the navbar.jsx file, write this;
import React from "react";

const Navbar = () => {
  return (
    <nav className="navbar">
      <ul>
        <li>
          Items in Cart <span className="numbs">{3}</span>
        </li>
      </ul>
    </nav>
  );
};

export default Navbar;
And then in the App.js, replace the content with this;
import Navbar from "./components/navbar";
import "./App.css";

export default function App() {
  return (
    <div>
      <Navbar />
    </div>
  );
}
On the first line, we import the Navbar component from ./components/navbar and on the next, we import the ./App.css file.
In the App component, we return a JSX expression that includes the Navbar component.
Now if you try to run the development server, by typing npm start on the terminal you are going to see something similar to this;
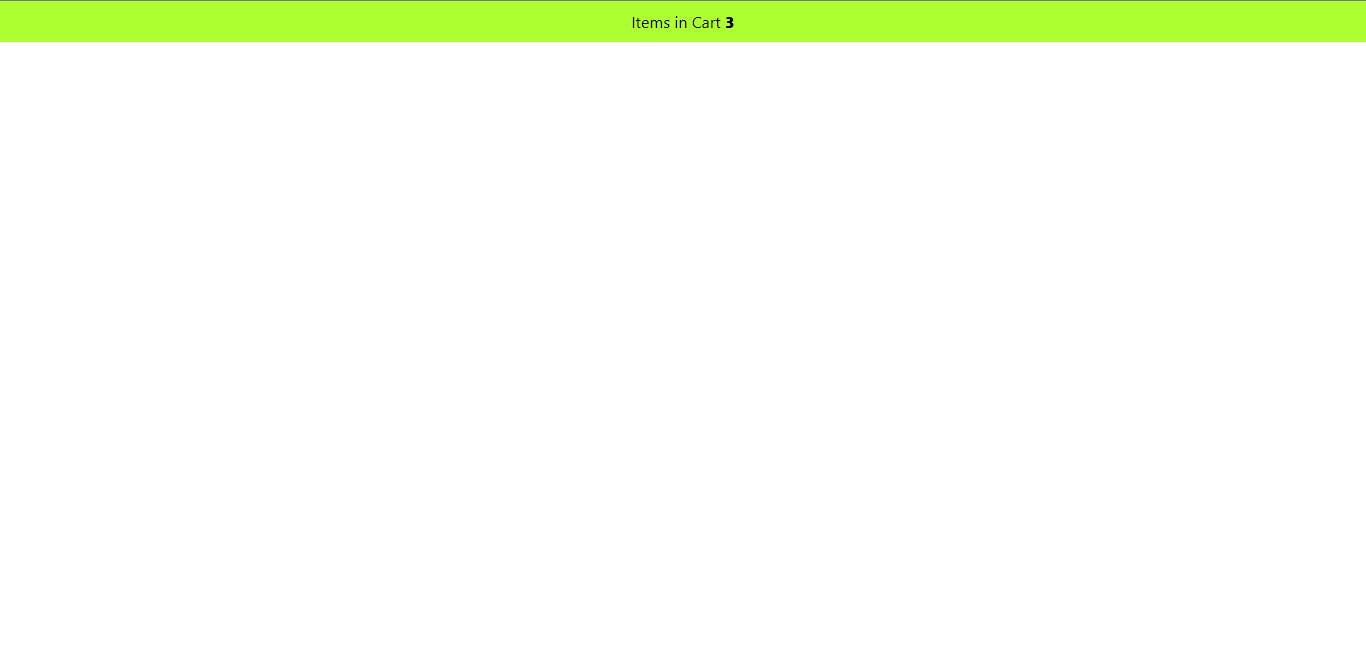
In the product.jsx file, write this;
import React from "react";

const Product = ({ name = "Red T-shirt", id = 1 }) => {
  return (
    <>
      <span className="name">{name}</span>
      <div className="actions">
        <button title='add to cart'>+</button>
        <button title='remove from cart'>-</button>
      </div>
    </>
  );
};

export default Product;
And also write this to the products.jsx file.
import React from "react";
import Product from "./product";

const Products = () => {
  return (
    <ul className="products">
      <li><Product /></li>
    </ul>
  );
};

export default Products;
In the products.jsx file we import React from 'react' and on the next line we import the Product component from ./product, and include it in between the li tag.
Now we need to import the Products component from './components/products.jsx into the App.js file, so update the App.js file with this;
import Navbar from "./components/navbar";
import Products from "./components/products";
import "./styles.css";

export default function App() {
  return (
    <div className="App">
      <Navbar />
      <Products />
    </div>
  );
}
If you preview the result of the changes we made in the browser, you will see something similar to this;
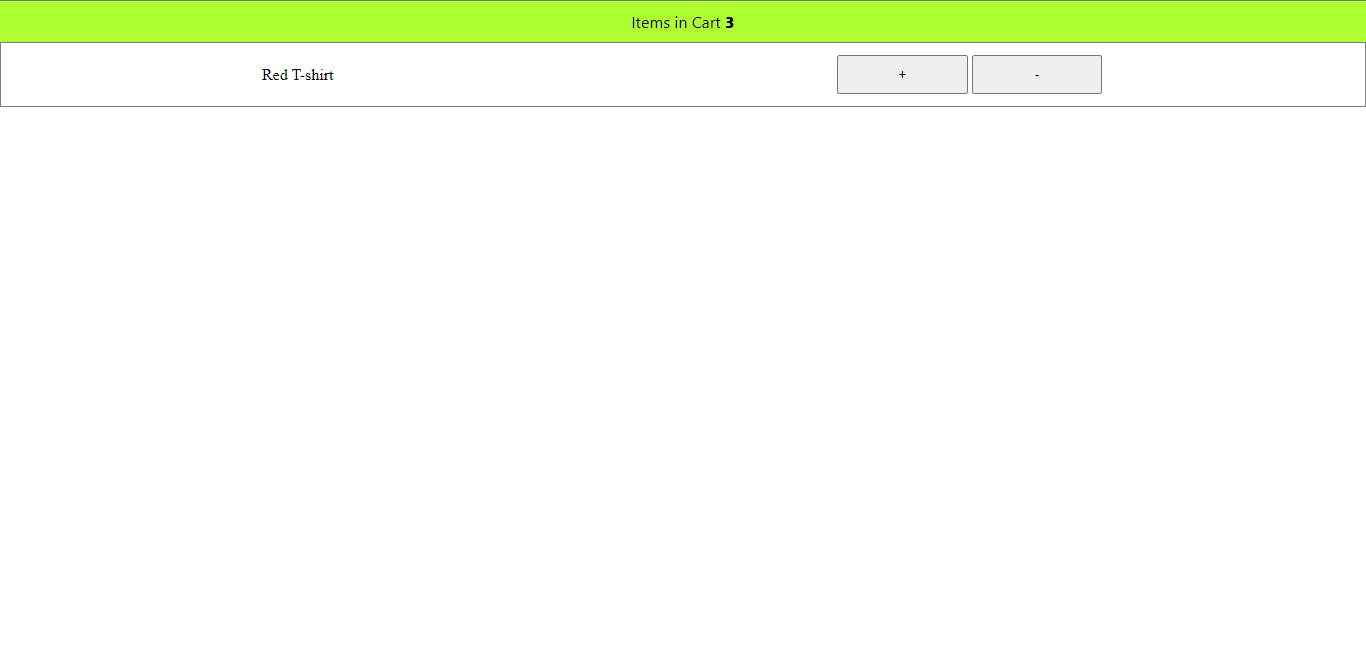
Let me explain the whole concept of this project and why using `React context API is the only logical way to manage the state variables.
So we have a navbar that contains the number of items we have in a cart, this navbar exists independently as a component and also we have a Products component which shows the list of items we can add to the cart. These items exist as nested components in the Products component.
Now let's set up the context API component, in the src directory create JS or JSX file and name it GlobalContext.
To create a context in the GlobalContext component we need to import the createContext from 'react' and initialize it.
So add this to the GlobalContext file;
import {  createContext } from "react";

const GlobalContext = createContext();
And then create a component that will wrap the child components in the Context provider.
import {  createContext } from "react";

const GlobalContext = createContext();

const GlobalProvider = ({children}) => {


  return <GlobalContext.Provider>
    {children}
  </GlobalContext>
}
The children reference that was passed in between the Context provider is destructured from the props of the GlobalProvider function (component) and it represents any other child component that will be passed between the GlobalProvider component. For example;
//this is an example, you don't need to add it to the code.
<GlobalProvider>
    <h1>Hello World</h1> //This a child component to GlobalProvider
    <p>Hello, React</p> //also a child component to GlobalProvider
</GlobalProvider>
The context provider needs one more thing, and that is a value props. This represents the data that needs to be shared with the children components through the useContext hook.
So let's go ahead and create a state variable and then add it to the context provider value props.
import {  createContext, useState } from "react";

const GlobalContext = createContext();

const GlobalProvider = ({children}) => {
  const [cart, setCart] = useState([])

  return <GlobalContext.Provider value={{cart}}>
    {children}
  </GlobalContext>
}
And finally, we need to export both GlobalContext and GlobalProvider, so add this to the GlobalContext.jsx file.
export { GlobalContext, GlobalProvider }
Now in the index.js we need to import the GlobalProvider component and wrap it around the App component, like this.
import { StrictMode } from "react";
import { createRoot } from "react-dom/client";

import App from "./App";
import { GlobalProvider } from "./GlobalContext";
const rootElement = document.getElementById("root");
const root = createRoot(rootElement);

root.render(
  <StrictMode>
    <GlobalProvider>
      <App />
    </GlobalProvider>
  </StrictMode>
);
Now we can be able to access all the data passed to the value props of the GlobalProvider components, in any child component via the useContext hook. Let's try to get the value of the cart and add it to the Navbar component, to show the number of items we have in the cart.
In the navbar.jsx file, we are going to import the GlobalContext we initialized in the GlobalContext.js file, and also import the useContext hook from 'react'.
import React, { useContext } from "react";
import { GlobalContext } from "../GlobalContext";
const Navbar = () => {
  const {cart} = useContext(GlobalContext)
  return (
    <nav className="navbar">
      <ul>
        <li>
          Items in Cart <span className="numbs">{cart.length}</span>
        </li>
      </ul>
    </nav>
  );
};

export default Navbar;
After importing the useContext hook from 'react' and importing GlobalContext from GlobalContext.jsx file.
We passed the GlobalContext we imported as an argument to the useContext hook, and then since it will return an object, we destructured it and get the cart from it. Hence this line:
const {cart} = useContext(GlobalContext)
Since the cart state variable is an array, we can use the length method to get the number of items that are inside the array, so we passed cart.length in between the span tag.
<li>
  Items in Cart <span className="numbs">{cart.length}</span>
</li>
If you try to see the changes on the browser you will see that it says Items in the cart is 0, because currently, there is no item in the cart array.
We are able to get a state variable from a different component to another nested component without any form of props drilling using the context API.
How can we update the cart state variable from another component? Let's say the Product.jsx component.
The thing is you can also pass a function in the value props of the Context provider and here is how to do that.
In the GlobalContext.js, let's create a function and name it addToCart and also include it in the value props of the Context Provider.
import { createContext, useState } from "react";

const GlobalContext = createContext();

const GlobalProvider = ({ children }) => {
  const [cart, setCart] = useState([]);
  const addToCart = (data) => {
    setCart([...cart, data])
  }
  return (
    <GlobalContext.Provider value={{ cart, addToCart }}>{children}</GlobalContext.Provider>
  );
};

export {GlobalContext, GlobalProvider}
Let's try using the addToCart function in the Product component. We have to import the useContext hook from 'react' and the context instance GlobalContext from the GlobalContext.jsx file.
Update the product.jsx file with this.
import React, { useContext } from "react";
import { GlobalContext } from "../GlobalContext";

const Product = ({ name = "Red T-shirt", id = 1 }) => {
  const { addToCart } = useContext(GlobalContext);
  return (
    <>
      <span className="name">{name}</span>
      <div className="actions">
        <button onClick={() => addToCart({name, id})} title="add to cart">+</button>
        <button title="remove from cart">-</button>
      </div>
    </>
  );
};

export default Product;
Now try clicking on the add to cart button, you will see that on the Navbar component the number of items in the cart will start increasing.
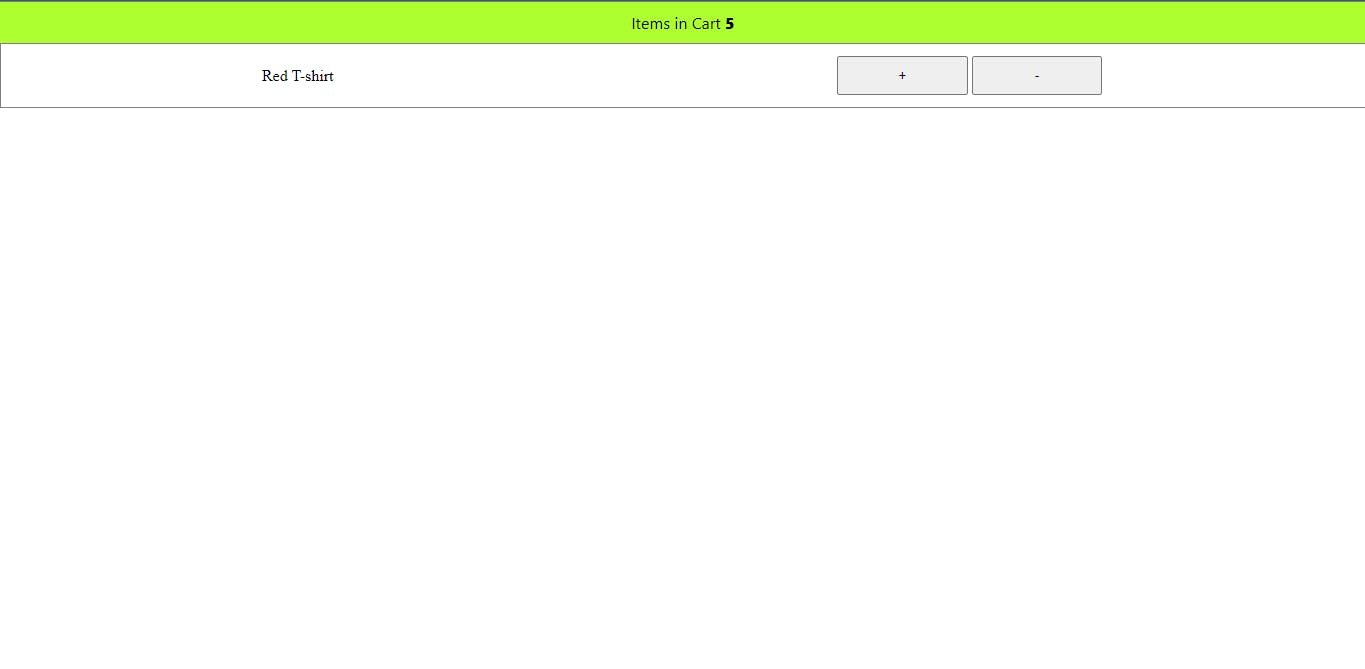
The more you click on the button, the more that single item is added to the cart multiple times, so let's try disabling the add to cart button if an item is already inside the cart but before we do that, let's create other several items.
So in the GlobalProvider component create an array of objects with name and id properties, you can name the array items and also include it in the context provider value props.
import { createContext, useState } from "react";

const GlobalContext = createContext();

 const items = [
    {name: "White Gown", id: 2},
    {name: "Pink Dress", id: 3},
    {name: "Dodgerblue Cap", id: 4},
    {name: "Green Jacket", id: 5},
    {name: "Pink Shoes Jacket", id: 6},

  ]

const GlobalProvider = ({ children }) => {
  const [cart, setCart] = useState([]);
  const addToCart = (data) => {
    setCart([...cart, data])
  }

  return (
    <GlobalContext.Provider value={{ cart, addToCart, items }}>{children}</GlobalContext.Provider>
  );
};

export {GlobalContext, GlobalProvider}
In the Products component from the products.jsx file, import the useContext hook and also the context instance GlobalContext from the GlobalContext.jsx file. Destructure the returned data from the useContext hook, to get the items array.
And then using the map method to render all the items in the array.
import React, { useContext } from "react";
import { GlobalContext } from "../GlobalContext";

import Product from "./product";

const Products = () => {
  const { items } = useContext(GlobalContext);

  return (
    <ul className="products">
      {items.map((item) => {
        return <li  key={item.id}><Product name={item.name} id={item.id} /></li>
      })}
    </ul>
  );
};

export default Products;
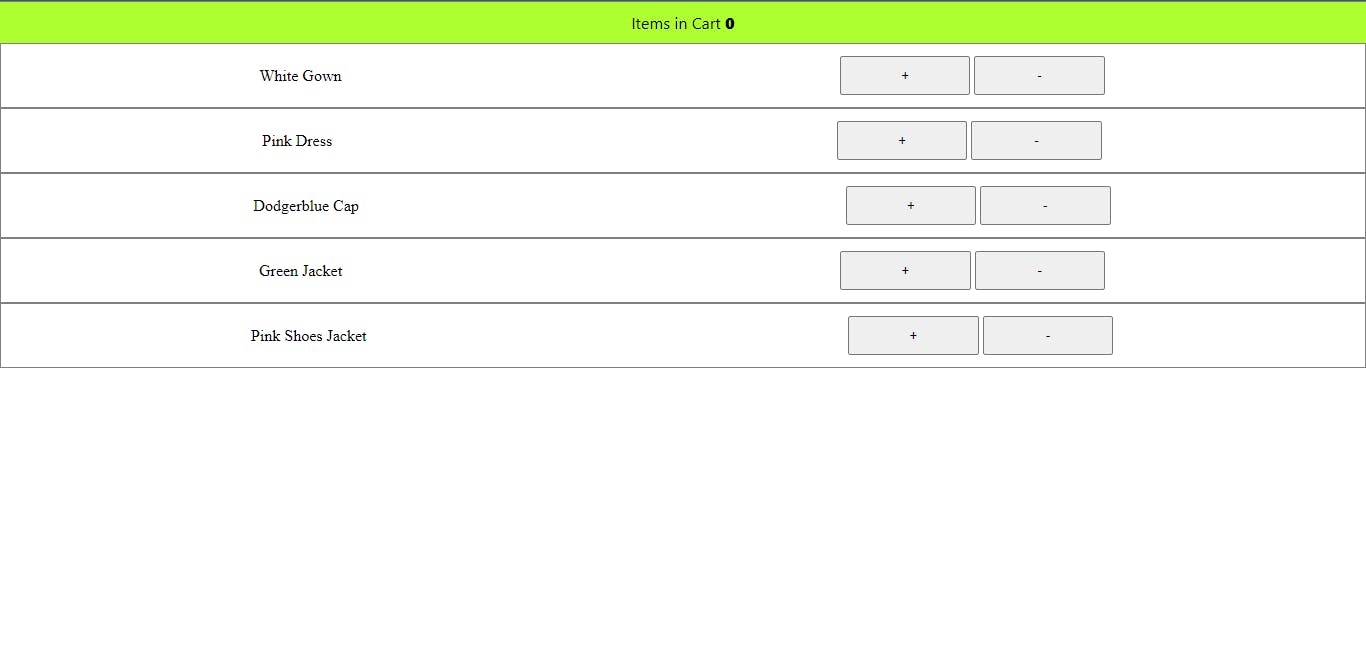
If you open the browser to see your changes, it is going to look like this:
Now let's try disabling the add to cart button of an item if it exists in the cart array.
Update, the product.jsx file with this;
import React, { useContext, useEffect, useState } from "react";
import { GlobalContext } from "../GlobalContext";

const Product = ({ name = "Red T-shirt", id = 1 }) => {
  const { cart, addToCart } = useContext(GlobalContext);
  const [inCart, setInCart] = useState(false)

  useEffect(() => {
    if(cart.filter((crt) => crt.id === id).length === 0){
      setInCart(false)
    } else {
      setInCart(true)
    }
  }, [cart])

  return (
    <>
      <span className="name">{name}</span>
      <div className="actions">
        <button disabled={inCart} onClick={() => addToCart({name, id})} title="add to cart">+</button>
        <button disabled={!inCart} title="remove from cart">-</button>
      </div>
    </>
  );
};

export default Product;
We imported the useEffect hook from react, if you don't fully understand how the useEffect hooks works, you can take a look at this article.
The useEffect hook is a function that accepts two arguments, first a function to execute and second an array of dependencies which are state variables. A function passed to the useEffect hook will only be executed when the state variable dependencies change. In our case, that is when we add or remove an item from the cart.
What we are doing here is filtering the entire cart to find an item that matches the id of the current item, and when we can't find one, we set the inCart state variable to false but when we found one we set it to true.
So the buttons will either be disabled or enabled based on the value of the inCart state variable.
If you check this on the browser, you'll see by default all the remove from cart buttons are disabled but once we click to add an item to the cart, they become enabled while the add to cart button becomes disabled.
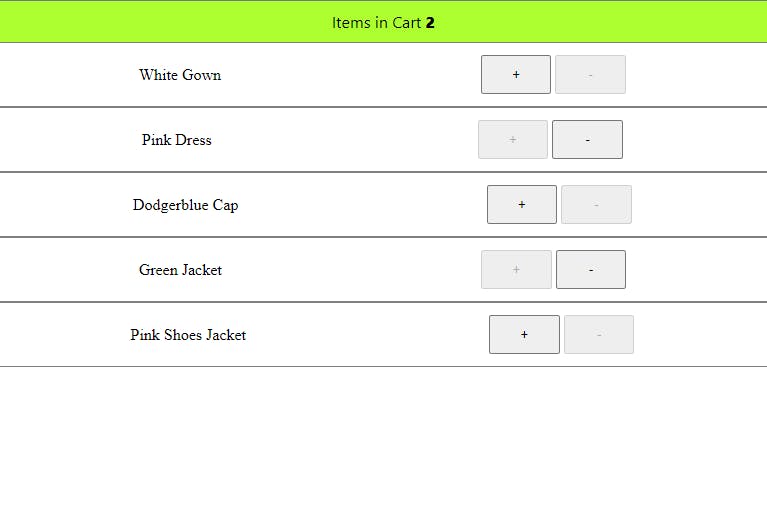
The final thing we need to do now is to make sure we can be able to remove items from the cart by clicking the remove from cart button.
So in the GlobalProvider component create a function called removeFromCart which accepts an argument of id.
import { createContext, useState } from "react";

const GlobalContext = createContext();
const items = [
  {name: "White Gown", id: 2},
  {name: "Pink Dress", id: 3},
  {name: "Dodgerblue Cap", id: 4},
  {name: "Green Jacket", id: 5},
  {name: "Pink Shoes Jacket", id: 6},

]
const GlobalProvider = ({ children }) => {
  const [cart, setCart] = useState([]);
  const addToCart = (data) => {
    setCart([...cart, data])
  }
  const removeFromCart = (id) => {
    setCart(cart.filter((crt) => crt.id !== id))
  }

  return (
    <GlobalContext.Provider value={{ cart, addToCart, items, removeFromCart }}>{children}</GlobalContext.Provider>
  );
};

export {GlobalContext, GlobalProvider}
And now in the Product component, let's get the removeFromCart function and pass it to the onClick event of the remove from cart button.
import React, { useContext, useEffect, useState } from "react";
import { GlobalContext } from "../GlobalContext";

const Product = ({ name = "Red T-shirt", id = 1 }) => {
  const { cart, addToCart, removeFromCart } = useContext(GlobalContext);
  const [inCart, setInCart] = useState(false)

  useEffect(() => {
    if(cart.filter((crt) => crt.id === id).length === 0){
      setInCart(false)
    } else {
      setInCart(true)
    }
  }, [cart])

  return (
    <>
      <span className="name">{name}</span>
      <div className="actions">
        <button disabled={inCart} onClick={() => addToCart({name, id})} title="add to cart">+</button>
        <button disabled={!inCart} onClick={() => removeFromCart(id)} title="remove from cart">-</button>
      </div>
    </>
  );
};

export default Product;
As you can see, we are also passing the id of the item as an argument, to know exactly what item we are going to remove from the cart.
Now we can be able to add and remove items from the cart while showing the number of current items in the cart at the Navbar component.